After learning rendering buffed ، patant leather , also suede ، woven fabrics and satin..
Now I teach you drawing fur in shoe illustration:
Important tips in rendering fur
When fur is used in footwear it usually has a short nap unless it is a mukluk-type boot.
The important thing to capture is the soft quality both on the edge and on the upper.
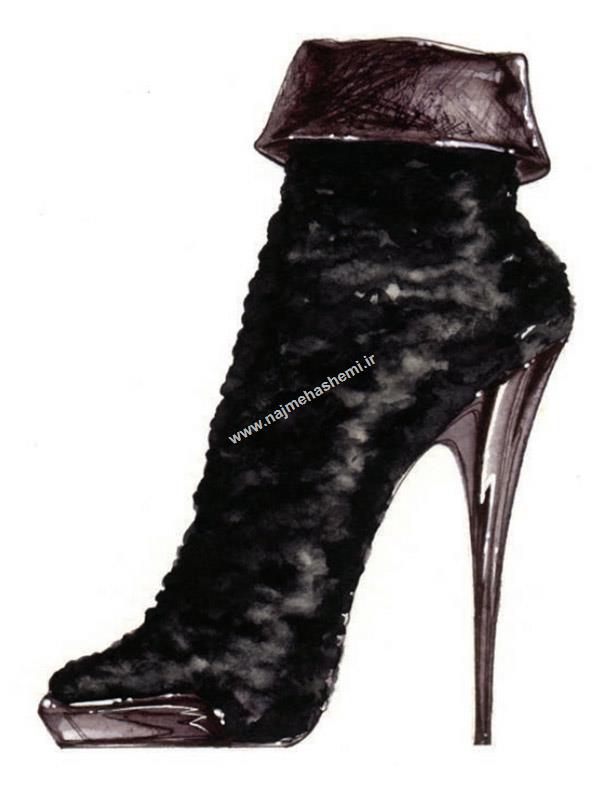
This Vivienne Westwood boot was done in watercolor as a style direction sample.
Initial Sketch in drawing fur
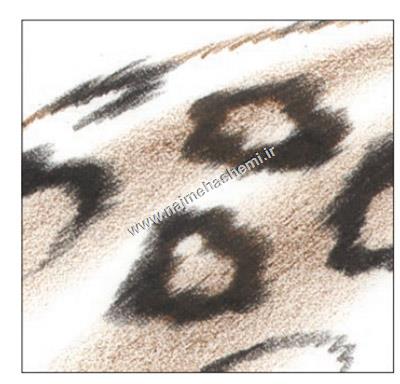
STEP 1– Begin with a textured edge in colored pencil capturing the feel of the fur.
Lay in your shadow form, keeping the rendering rough.
Begin to outline and color in individual spots,
keeping them soft with a hair edge.
adding marker
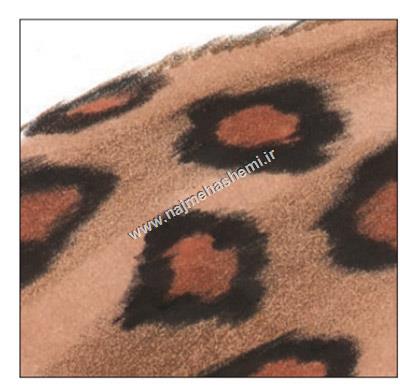
STEP 2– Add marker on the back of the paper, using two colors if appropriate.
add the highlight

STEP 3– Finish by using Pro White paint for highlights on the guard hairs (if applicable) or a white colored pencil for softer highlights on the high points.
Exaggerate the edge texture with a few longer hairs.
In this article you learned how to render fur in shoe design and shoe illustration.
Now please practice rendering satin for being expert .
For see rendering fur with fur, you can follow my Instagram @shoe.scarf.designer .
For having moe info and training in shoe design and illustration, please see educational videos.
In this section, you can buy essential lessons for footwear design as an educational videos :
-Basics of visual Arts in Shoe Design
-Color Basics in Shoe Design
-Creativity in Shoe Design
Please share your comments with me.

