In previous articles, you learned rendering buffed leather, patent and suede . Now you learn how to illustrate shoes
Tips in rendering satin
Satin has smooth, flowing, liquid-like reflections that glow with soft edges.
Because it is highly reflective you must consider the dark reflections as well as the light reflections.
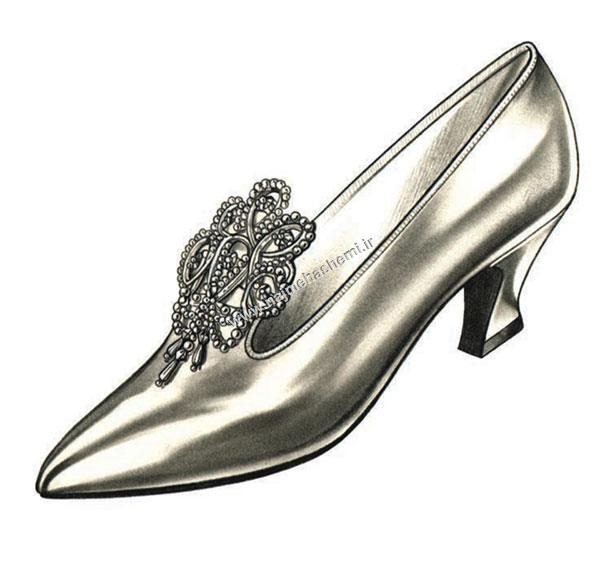
This satin shoe was used in an advertisement for bridalwear.
Graphite pencil was used for the shoe rendering and a fine-line black pen for the bead outlines.
Initial sketch and coloring shadows

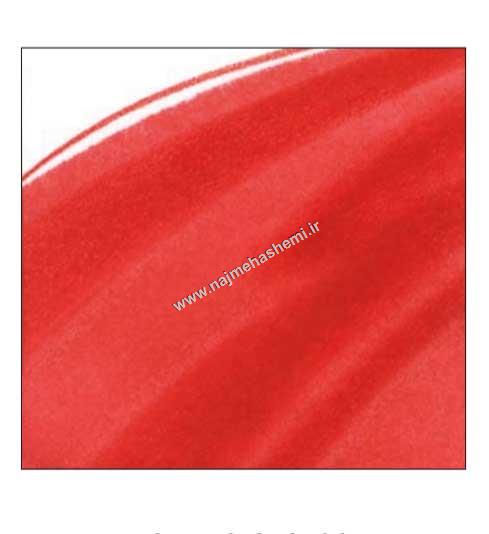
STEP 1– Begin with a smooth-edge line.
Lay in your shadows, keeping the shapes fluid.
Smooth out some of the texture with a colorless blending pencil (optional) and darken the shadow forms, keeping edges smooth.
Shoe illustration and adding marker
STEP 2– Apply art marker on the back of the paper.
Shoe illustration and add highlights
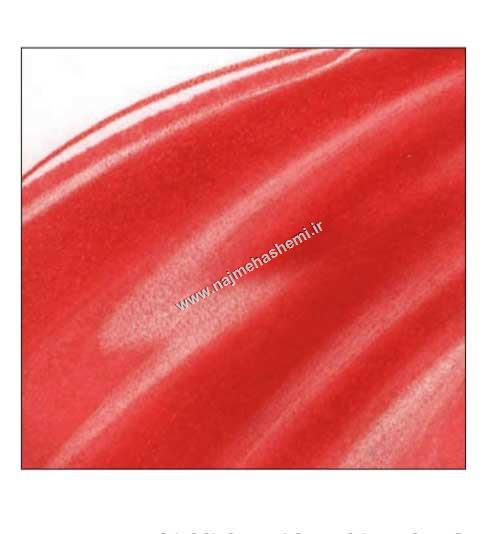
STEP 3– Now add your highlights with a white colored pencil, keeping the texture smooth and the shape fluid.
You can add a small amount of Pro White paint if necessary to make the highlights more intense.
In this article, you learned rendering satin step by step in shoe design and illustration .
Now please practice rendering satin for being expert .
For being more skillful in shoe design, you can learn basics in visual arts in shoe design , color basics and creativity in shoe design .
Please share your comments with me.

